

How to Resize Images Using Automator Quick Action on Mac

While writing an commodity, I take to often scale dozens of images to a specific size for uploading. As it's an integral part of my workflow, I wanted to make the whole procedure a piffling bit smoother and also less time-consuming. Kickoff, I was looking at some third-party photo editing apps but I was not that satisfied with the results. Finally, my productivity-centric need led me to notice a quick way to resize images using Automator Quick Activeness on Mac. I am in dear with this new hack and want to share it with you guys. So, if your workflow is alike to mine, this is how you tin can quickly resize images using Automator quick action on your Mac.
Quickly Resize Images with Automator Quick Action on macOS
Before diving direct into the whole process, let me briefly discuss the whole process and also spill some beans about the goodies that come attached with this Automator Quick Action.
Sneak-Peek into the Whole Process
As yous may take already guessed it, we are offset going to ready an image-resizing quick action using the Automator app. As information technology'southward a stock app, you don't have to have the pain of installing a third-political party tool or even spending a few dollars. Talking most reliability, yous tin can employ this hack to resize a single or a bunch of images at once on your macOS device with simply a couple of clicks. It works equally smoothly as the night/light manner switch that we build using Automator. What's more, there is likewise an selection to assign a keyboard shortcut to it for a more simplified experience. As Automator has existed on Mac for years, you lot won't face incompatibility issues either. So, what are yous waiting for?
Creating Resize Image Automator Quick Action on macOS
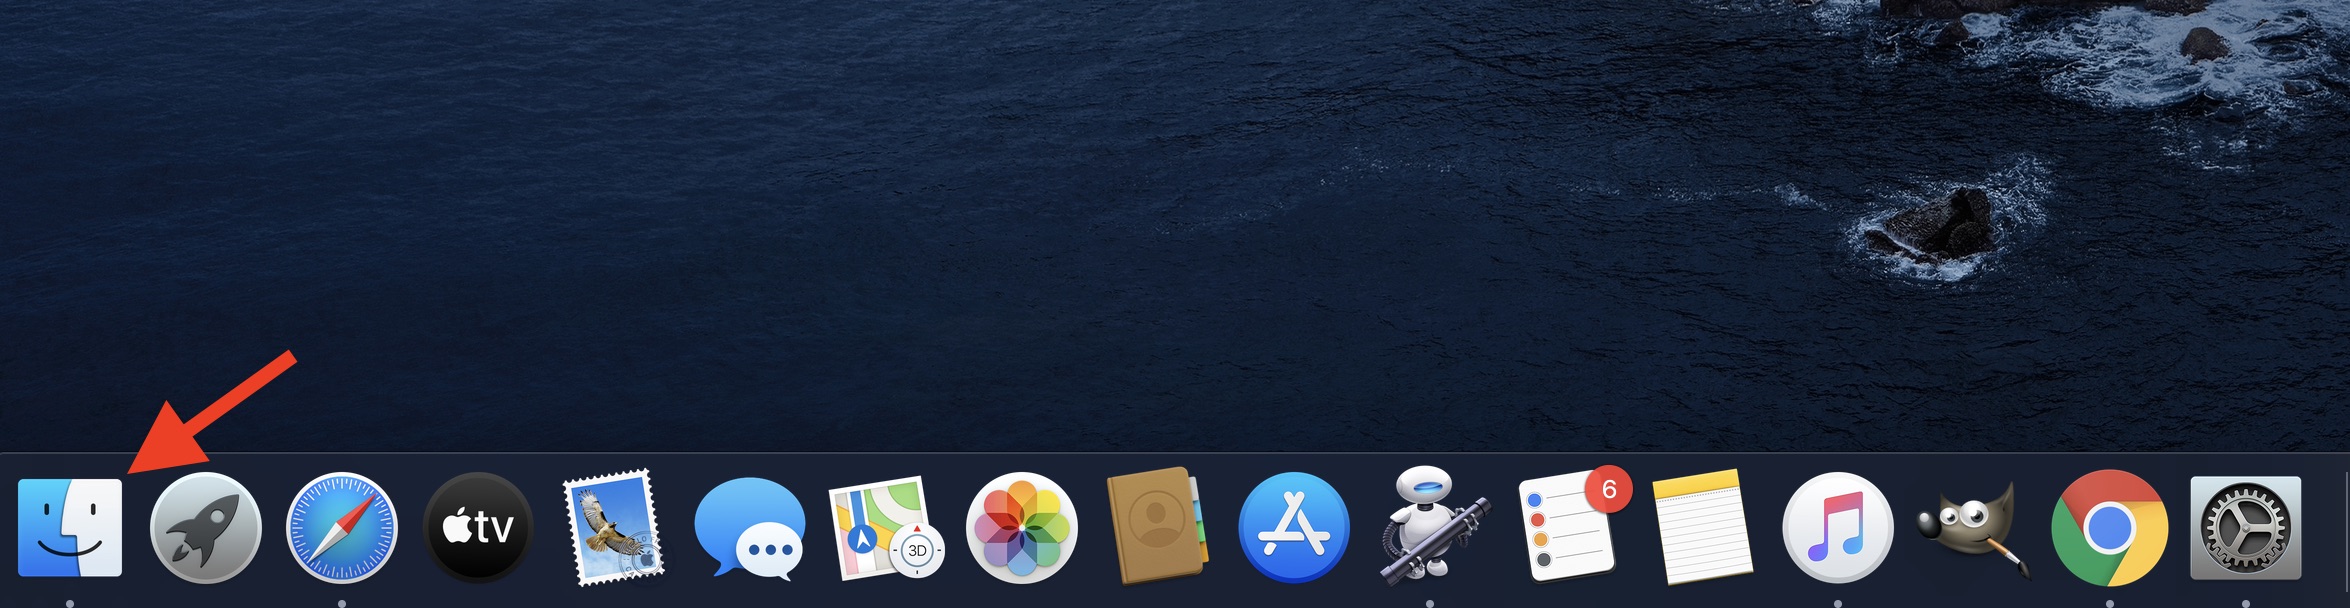
i. Open the Automator app on your Mac.
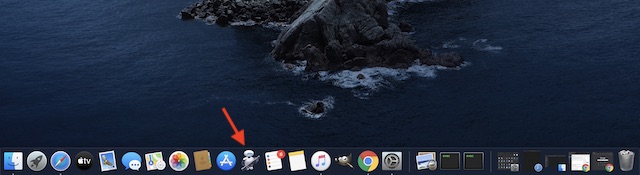
Annotation: If the app is not available in the Dock, yous tin can use the Spotlight search to quickly find it.
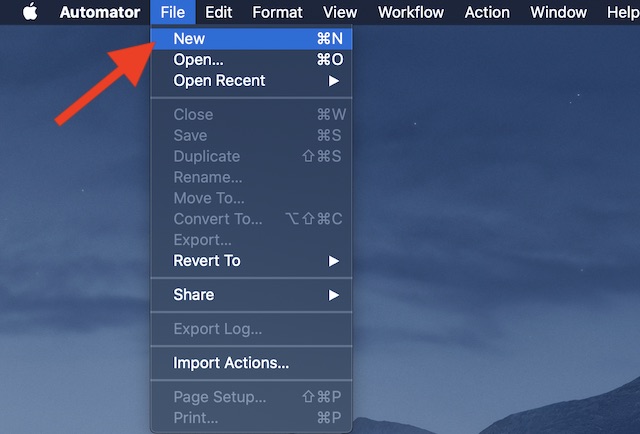
2. At present, click on the File menu and choose New.
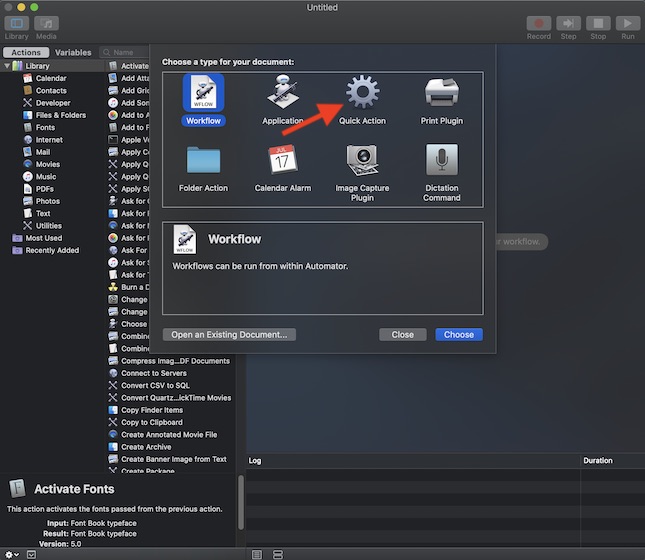
3. Next, select the Service/Quick Action icon.
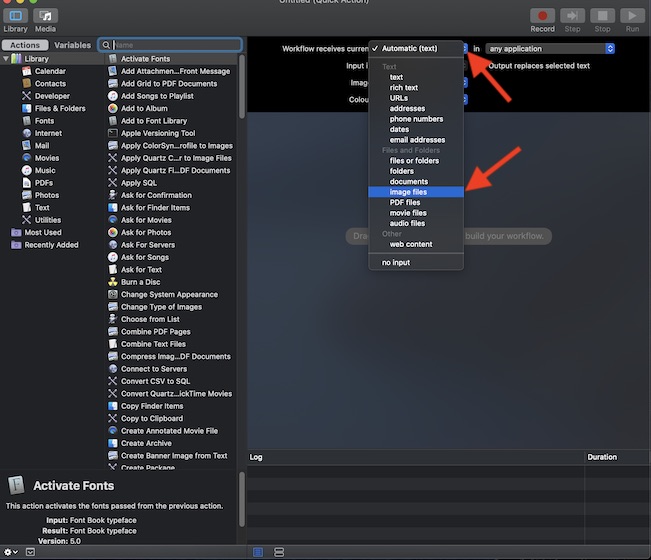
four. Next upward, click on the Service receives selected/ Workflow receives electric current dropdown so make certain to choose Paradigm Files.
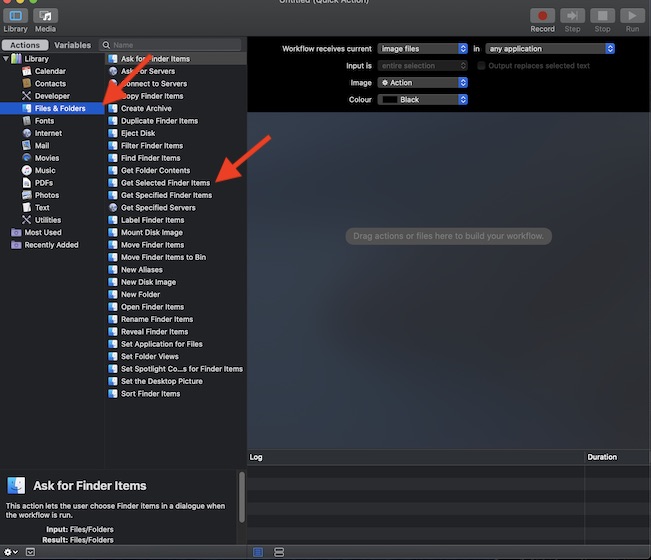
5. Upwards next, choose Files and Folders options located in the sidebar. After that, drag the "Become Specified Finder Items" to the workflow surface area.
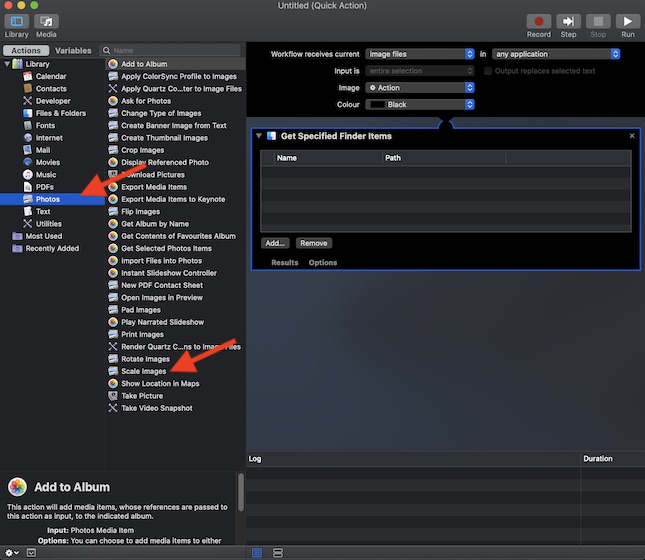
6. Now, choose Photos in the Actions sidebar. Then, drag Scale Images option to the workflow area.
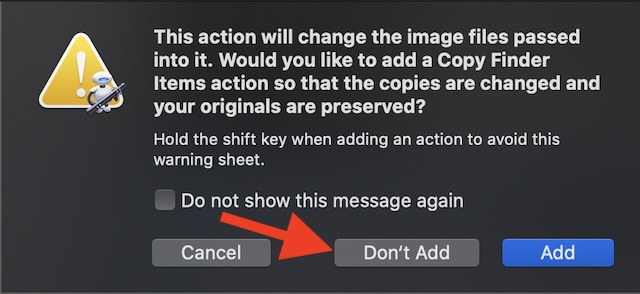
vii. A popup message will show upward on the screen saying, "This action will change the prototype files passed into it. Would you like to add together a Copy Finder Items action so that the copies are inverse and your originals are preserved? To keep everything straightforward, select Don't Add. (But you tin can choose to go with Add if you want to.)
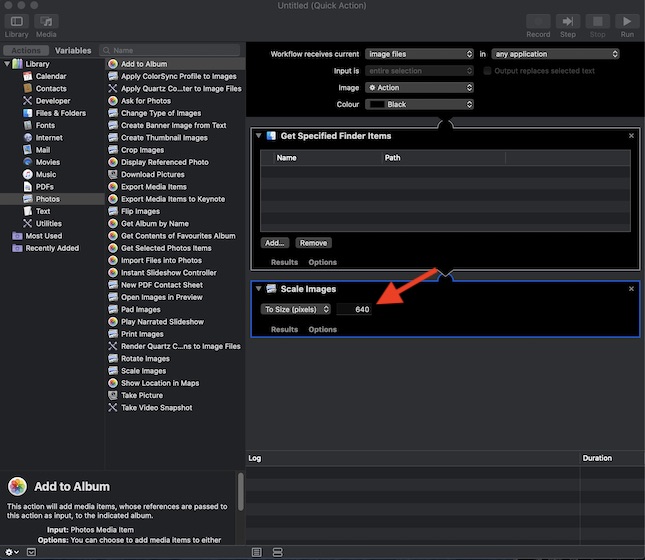
viii. Now, enter the desired width in the Calibration Images action panel. I'one thousand going to enter 640 as it's the default size of most of the images that I upload.
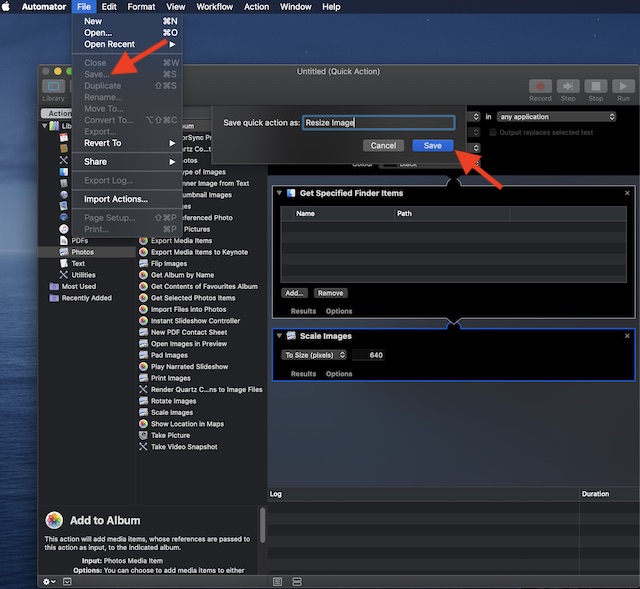
9. Finally, click on the File menu and choose Save. After that, give the service a suitable proper name like "Resize Prototype" and hit Save.
Now that you have created a shortcut, yous can resize any image with ease. Read on…
Resizing Images Using Automator Quick Activity on macOS
- Launch the Finder app on your Mac.
two. Now, correct-click (or Ctrl-click) on the file and cull Resize Image option.
Note: If the file is on desktop, right-click on it > Services/Quick Deportment. And so, select the Resize Epitome pick from the contextual dropdown.
If you want to resize multiple images at one time on your Mac, select all the images. Then correct-click and choose Resize Image. (If those image files are on desktop, choose Quick Actions > Resize Epitome.)
Assigning a Keyboard Shortcut to Automator Image Resize Service
If you similar to get your work done faster using handy Mac keyboard shortcuts, you lot would exist glad to know that there is also an pick to assign a keyboard shortcut to the Automator paradigm resize service.
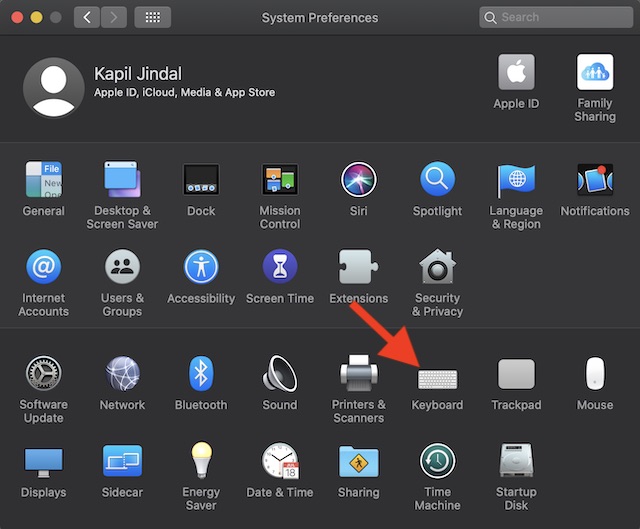
- Launch Arrangement Preferences app on your Mac.

2. At present, choose Keyboard pane.
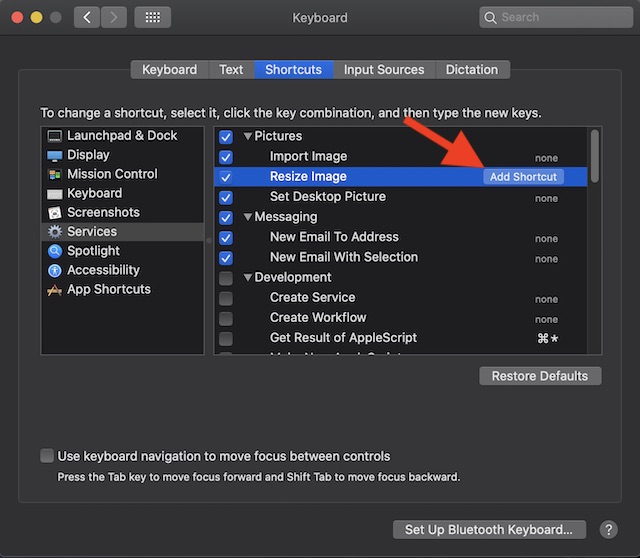
3. Next, click on the Shortcuts tab and choose Services from the sidebar. So, select the Resize Epitome choice.
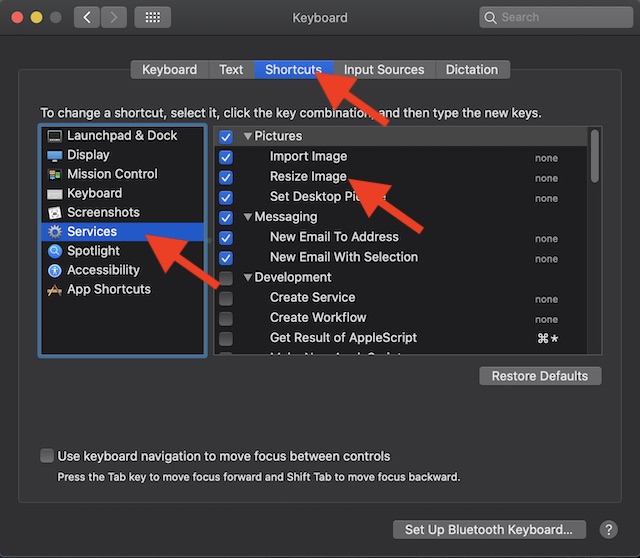
5. Choose Add together Shortcut. Finally, enter a preferred central combination and you are adept to get.
Resize Images on Mac with Ease
So, that's the quick style to make an image resizing a painless exercise on macOS. For the folks who often accept to upload images to a web log, this tin can show to be a boon from a productivity perspective. Though setting up the quick activeness requires some workaround, the balance process is quite straightforward, isn't it? Recently, nosotros take covered quite a few helpful guides related to macOS including changing the music file location, hiding Apple Music in the Music app and making the latest messages to prove on top in an e-mail thread. If you haven't been able to catch up with those articles, do requite them a look.

Source: https://beebom.com/how-resize-images-using-automator-quick-action-mac/
Posted by: morrissonging.blogspot.com
0 Response to "How to Resize Images Using Automator Quick Action on Mac"
Post a Comment